Contour codes from a makeup artist
You’ve probably heard of contouring once, but you may never have tried it for yourself, or perhaps you’re a seasoned professional. Face contouring is a commonly used technique when applying makeup, but sometimes the method causes many of us to seek extra help as well as expert advice. When done properly, contouring can improve your already pleasing features and bone structure and can be quite transformative.
Whether you’re just getting started or need a refresher course in contouring, one question is imperative as you begin your journey: How do you choose the true contour color for your skin tone? Whether you’re diving deep in YouTube tutorials or just getting started with contouring. We have researched the answer to this question for you, scroll the page to find out.
It’s all about shadows
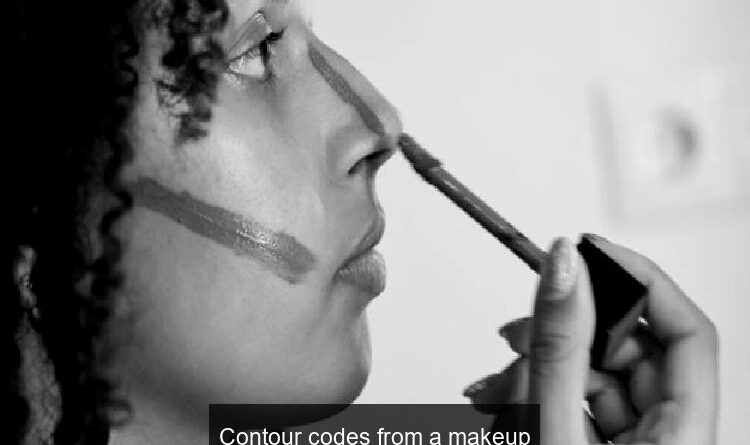
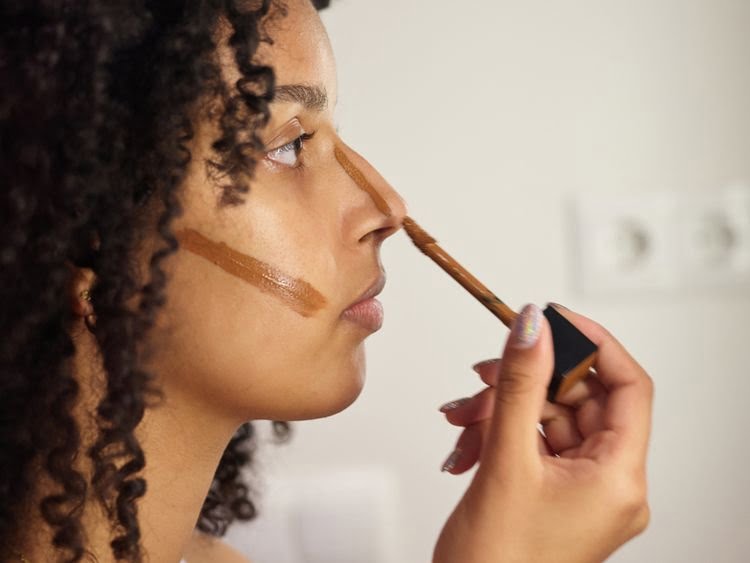
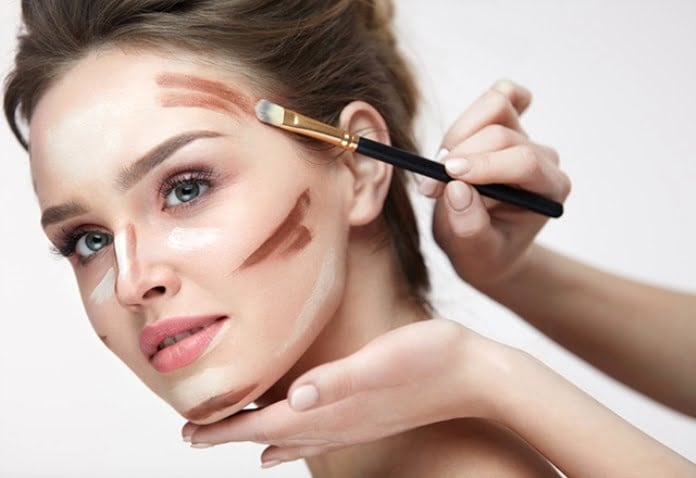
First off, if you need a basic refresher course in styling, you’ve come to the right place. Contouring the face is simply darkening sensible areas where you want to add more definition. The areas where you will most frequently apply contours on the face are your cheekbones, forehead, nose, jawline and even the chin. No matter what your facial condition is, contouring is something you can use to enhance, define, and even restore your own facial features, but it doesn’t necessarily have to be done every day. It is very valuable to pay attention to the color of the shadows on your face when choosing the correct contour shadows to use, and it is recommended to use colors that imitate or closely resemble the shadows in question. Your foundation is the perfect place to start as you begin your contouring journey. Think of the same tone family as your foundation, but 1-2 tones darker than your skin; this is as dark as you need to go. Remember that you can always create an artifact to achieve the desired result. Adding a little at a time is excellent advice for those who need to start with a thin contour and work their way into something more precise.
Skin tones aren’t the only one-size-fits-all criteria
Our skin’s undertones make a point in choosing true contour tones, and since skin tones are so diverse and beautifully unique, it’s best to familiarize yourself with your individual skin tone to find out which contour tones are best for you. If you have fair to medium skin, consider neutral, taupe, and contour tones that lean on the cooler side. For more leathery/olive skins, you may tend to go for a slightly more golden hue as these hues naturally have more warmth in the skin. For dark skin tones, use something more neutral with true blue and red undertone stability. Testing contouring artifacts on the inside of your arm is an easy way to give you an idea of how a contouring artifact will look on your natural skin and what won’t work if you can’t try the shadows directly on your skin.
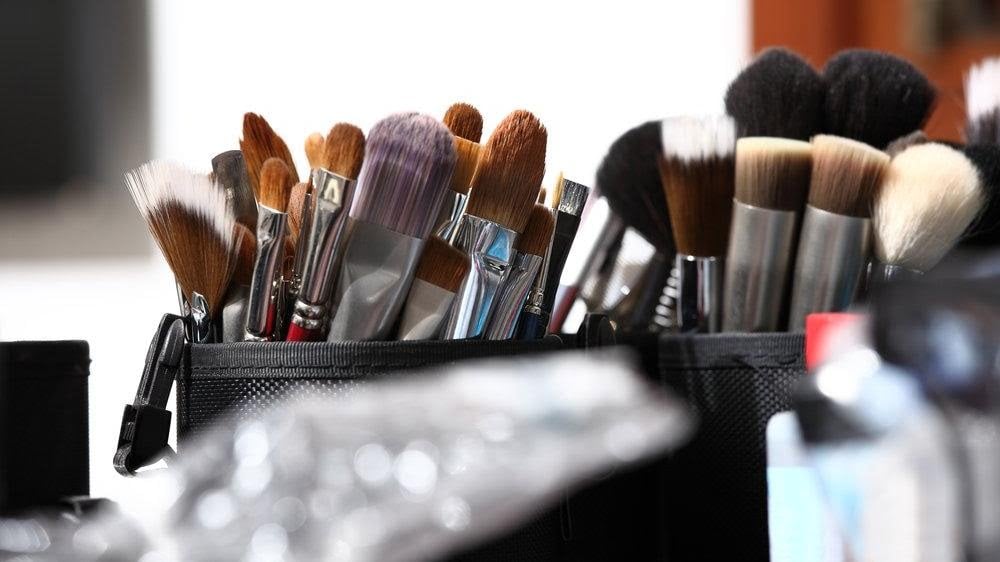
Use the right mixing tools
No matter what makeup look you’re creating, it’s valuable to use inaccurate brushes and blending tools as they can drastically improve your look and help you apply your creations with no problem. Brushes can play a big role in how your stroke looks, so there are a few things to keep in mind when using real tools. For a more natural look you should use a softer brush, using a fluffy brush will keep the contour soft and messy. You’ll obviously want to opt for a different brush if you want a more defined look: If you want a more sculpted look, reach for a smaller, heavier brush. Starting slowly with contouring artifacts is the neatest way to use them. When starting your contour, you need to consider all the natural places where the sun hits your face and make sure you don’t forget your forehead and temples.

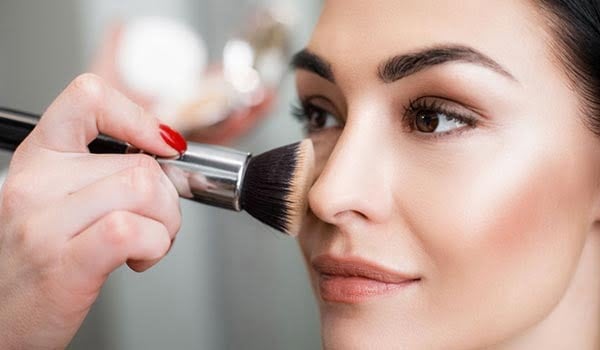
If you are not sure where the contouring overlaps with the makeup application process, remember that the best application for contouring is after you have applied your foundation and concealer. In this way, your skin is set and you can start promoting other works. After contouring, you can definitely go back and add more concealer if necessary, and if you like to apply blush, you can apply it after you finish contouring. Is it applied a lot? Do not be sad. Using your foundation brush with some traces on it, you can polish the contour to look more natural. And you can always start again if necessary.
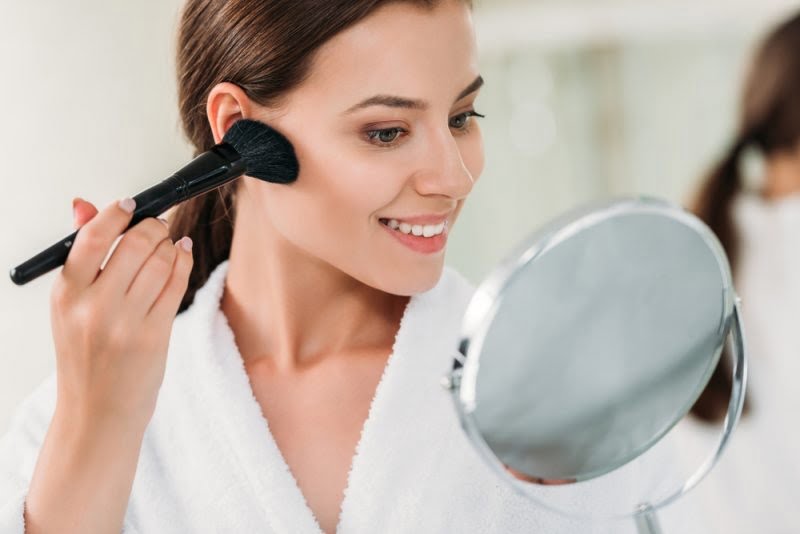
Cream or powder contour
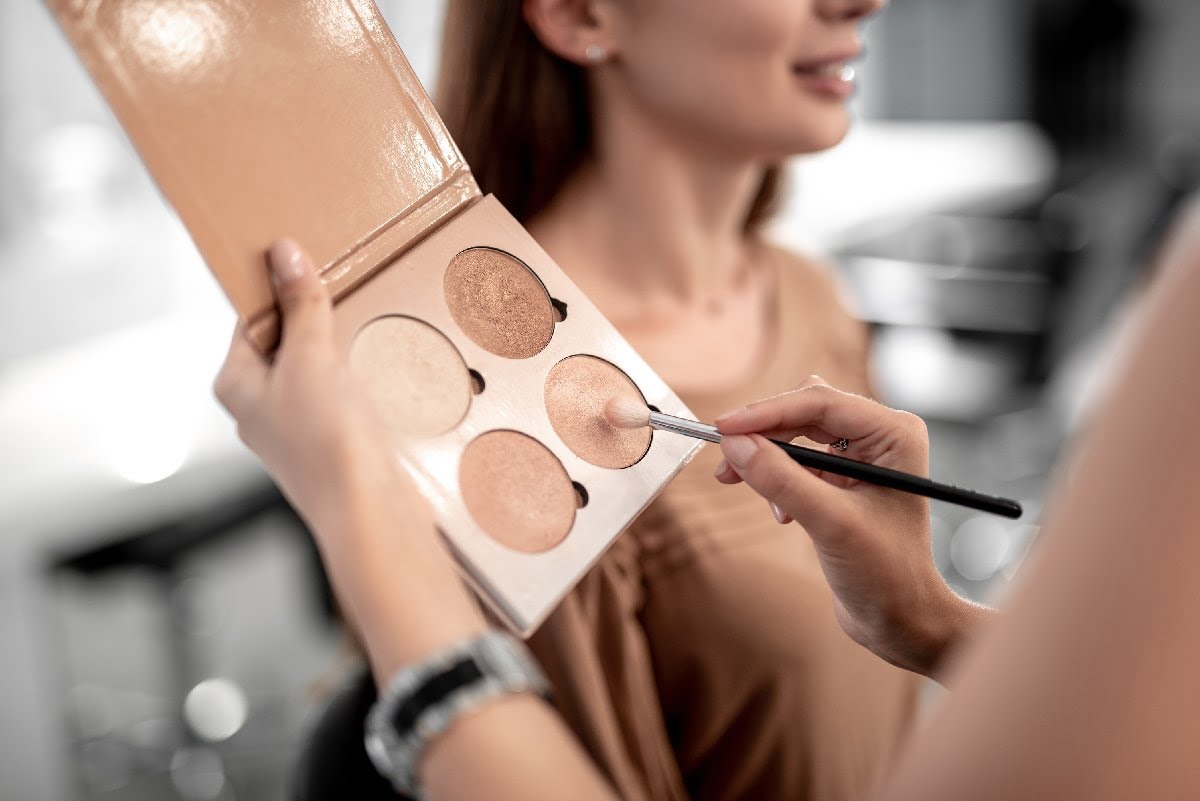
Since cream and powder are two very different textures, you’ll want to become familiar with each type and see which one you prefer for contouring. Powder contours can help oilier skin types and provide a more matte finish, while creams can help drier skin types and give a brighter appearance. If you want to use what’s in your makeup drawer and don’t feel the need to shop for something new, you can even use your daily bronzer to contour.
Have fun styling
The most valuable tip? great revels. There shouldn’t be any random pressure surrounding contouring, and the more you practice, the more you’ll find what works for you and what doesn’t. Experiment with different artifacts, textures, and blending tools until you discover what works best for you, and you’ll be a styling pro in no time.